For many individuals, the taste of tap water falls short of satisfaction. Whether it’s the faint hint of chlorine or worries about potential contaminants, bottled water often becomes the default choice. But what if there existed a more sustainable and economical solution, quietly tucked away beneath your sink?
Introducing the under sink water purifier: a discreet hero providing crisp, filtered water whenever you desire. To keep enjoying the benefits, you need to take good care of it. Along with that, you need to ensure proper installation in the first place.
Explore the world of under-sink purifiers and check out the guidance on installation procedures and essential maintenance tasks.
What are Under-sink Purifiers?
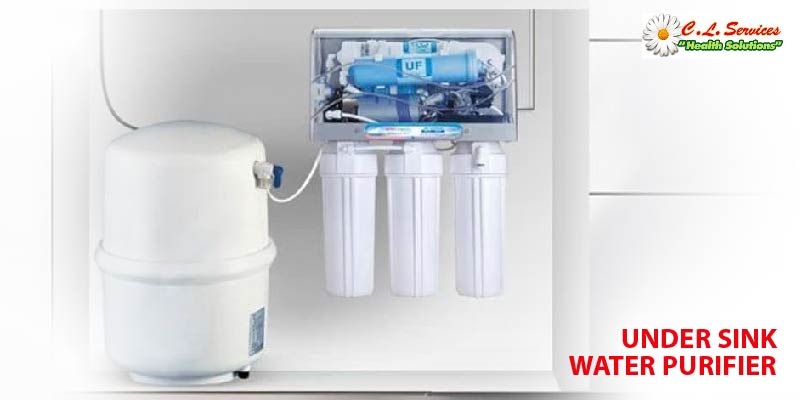
Under-sink purifiers are compact water filtration systems installed beneath kitchen sinks to provide clean drinking water. These units typically consist of multiple filtration stages, including sediment and carbon filters, to remove impurities such as sediment, chlorine, and contaminants like lead or pesticides.
Connected directly to the water supply, they offer a convenient and space-saving solution for ensuring safe and great-tasting water at the tap. Under sink water purifier is an efficient alternative to countertop or pitcher filters, as they are hidden from view and don’t occupy valuable space on the kitchen counter.
With various under-sink purifiers available, selecting the right one for your needs is crucial. There are two main categories:
- Reverse Osmosis (RO) Systems
- Carbon Filtration Systems
Finding the right under sink water purifier is important to get the best results and great ROI on your investment.
Proper Installation is Important
Once you’ve chosen your purifier, it’s time for installation. Most under-sink systems are designed for DIY installation, but don’t hesitate to seek professional help if needed.
Here’s a general breakdown of the process:
Under-sink purifier installation:
- Gather Tools: Assemble wrenches, screwdrivers, bucket, and plumber’s tape.
- Clear Under-Sink Space: Make room for the purifier unit.
- Connect to Cold Water Supply: Use a provided connector to link the purifier to the cold water supply line, applying plumber’s tape.
- Install Filter Cartridge: Follow manufacturer’s instructions for proper installation.
- Connect Faucet: Install dedicated faucet according to provided instructions.
- Connect Drain Line: Attach purifier’s drain line to suitable drain line, using the provided adapter.
- Check for Leaks: Turn on water supply slowly, inspecting connections for leaks. Tighten as needed.
- 8. Flush System: Run water through a filter to remove air bubbles and carbon particles.
Important tip: make sure the installation is done correctly, following the instructions to the letter.
Maintaining Your Under-Sink Purifier:
Proper maintenance ensures your water purifier functions optimally and delivers clean, filtered water for years to come. The good news is that you can do it with just a few easy steps.
- Replace Filters Regularly – The filters in your purifier are the first line of defense against contaminants. Follow the manufacturer’s recommendations for filter replacement intervals, typically every 6 months to 1 year, depending on usage and water quality.
- Check for Leaks – Periodically inspect all connections and fittings for any signs of leakage. Tighten loose connections to prevent water damage.
- Clean the System – Wipe down the exterior of the purifier regularly to prevent dust and grime buildup. Use a mild detergent and water to clean the housing and faucet, if applicable.
- Flush the System – If there is a decrease in water flow or the taste is a bit off, flush the system by running water through it for a few minutes. This helps remove any trapped air or sediment in the filters.
- Check for Damage: Be vigilant for any indications of damage like cracks or breaks. Should you identify any concerns, reach out to the manufacturer promptly for necessary repairs or replacement components.
- Monitor Water Quality – Keep track of the quality of the water produced by your purifier. If you notice any unusual odors, tastes, or discoloration, it may be a sign that the filters need replacing or that there’s an issue with the system.
- Professional Servicing – Consider scheduling periodic professional servicing for your under-sink purifier to ensure optimal performance and longevity. A trained technician can thoroughly clean and inspect the system, identifying any potential issues before they escalate.
Follow these maintenance tips to extend the lifespan of your under sink water purifier and continue enjoying clean, great-tasting water for years to come.
In Conclusion
With the right installation and maintenance, you can keep your water filter system in top-notch condition. But you need the best product in the first place and that’s where C.L Services come in.
Check out the selection and buy the best product at a great price.